Making homemade elderflower cordial (syrup) is easier than you think, and sooo much better than bought! For this elderflower syrup recipe you'll need sugar, citric acid and lemon slices. The recipe is pretty easy to make, but requires 2-4 days of resting time.
For newcomers to canning, I have collected the most important basics for making syrup in this article.
In this post I collect the most important information that you need to consider when collecting and identifying elderberry.
Jump to:
- How to recognize Elderberry / Elder Tree
- Collecting elderflowers
- Basics for making syrup
- How do you use elderflower cordial / syrup?
- Instructions for Elderflower Syrup
- 1. Elderflower infusion
- 2. Sterilize bottles
- 3. Sieve elderflowers and lemon
- 4. Bottle the elderflower syrup
- 5. Canning
- Elderflower Syrup FAQ
- Storage and Shelf Life of Elderflower Syrup
- Simple Homemade Elderflower Syrup Recipe
How to recognize Elderberry / Elder Tree
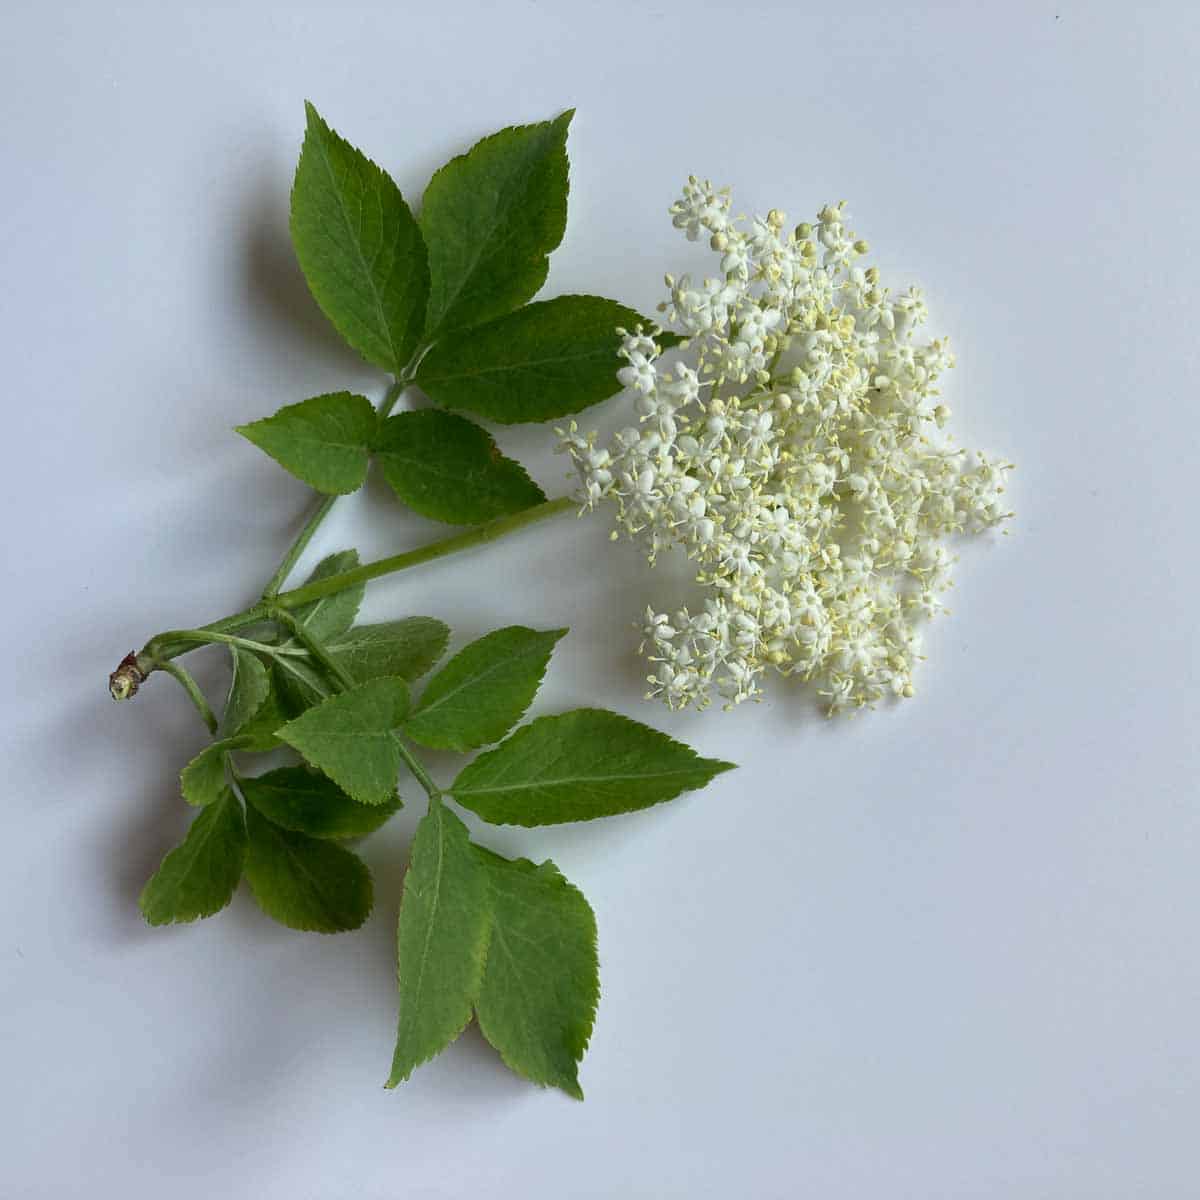
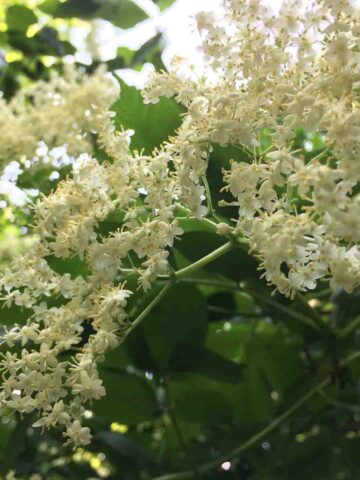
In this article you will find detailed information on what to look for when collecting elderflowers and elderberry (Sambucus nigra), so that you don't catch any poisonous lookalikes and the flowers keep their full aroma.
On this page, poisonous plants that look similar to elderberry are well described with pictures.
Caution: There is a risk of confusion with the poisonous dwarf elderberry, pokeweed, devil's walking stick, and water hemlock (very poisonous!).
Collecting elderflowers
Depending on the area, elderflowers bloom between late may until early july. When collecting and processing elderflowers, you should pay attention to the following. In this article there is more extensive information about it.
- Harvest the elderflowers on a dry day. Even better, when there where a few dry days before the harvest. The elderflowers develop their aroma best in sunshine around noon, So late morning and noon are the best times to pick them.
- Do not harvest from elderberry bushes on busy roads or in polluted areas (factory sites, near gas stations, etc.).
- To transport the elderberry umbels, it is best to place them loosely in a paper bag, basket, box with a cloth or similar, do not crush them.
- Process on the same day, unfortunately the flowers do not keep fresh for long.
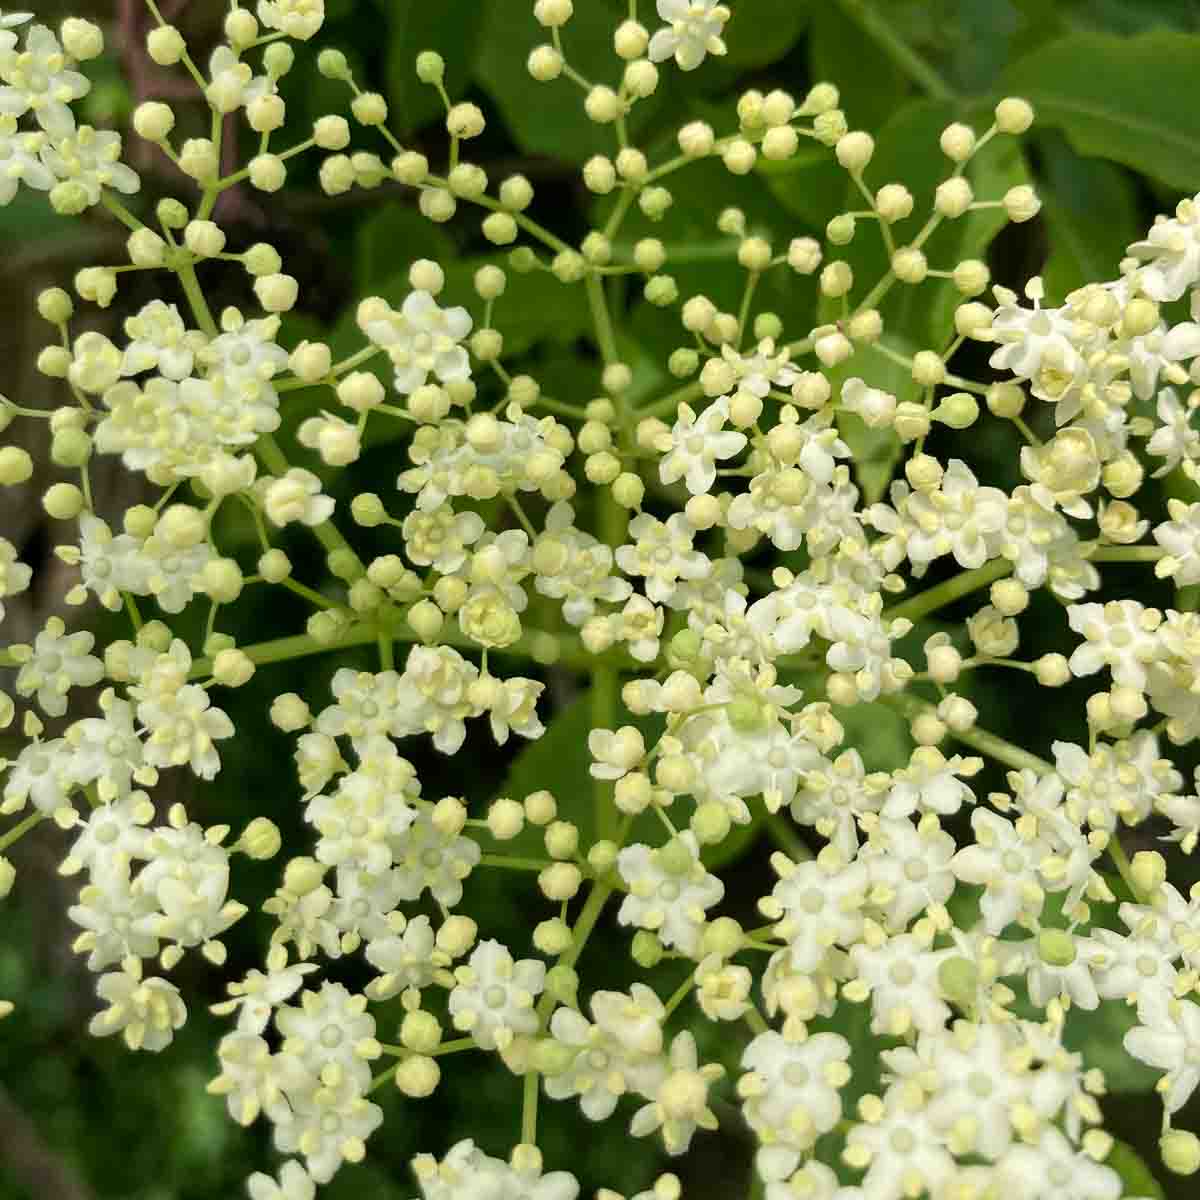
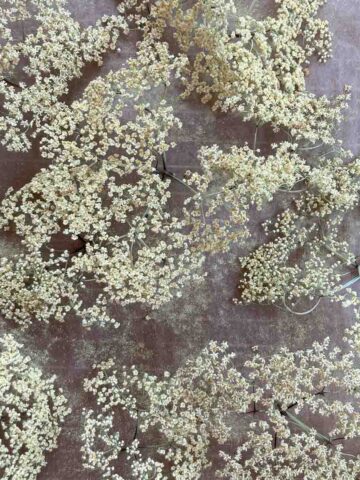
- Only pick the umbels where the flowers are in full bloom. If there are still too many small white balls instead of flowers (see picture below), the umbel does not have enough flavor yet.
Basics for making syrup
In order for the syrup to keep for a long time and not spoil, you need to consider a few things. In this article you will find more detailed information.
- For a long shelf life, the bottles, lids and all equipment must be sterile.
- Use a (sterilized) funnel for filling the bottles so that the cap does not get dirty.
- Close the bottles immediately after filling to prevent bacteria from entering.

How do you use elderflower cordial / syrup?
Mix 1 part of elderflower syrup with about 7 parts water or soda water to get a delicious and refreshing drink for hot summer days.
- In Austria, it's also very common to mix elderflower cordial with white wine and sparkling water (1 part wine, 1 part water, about 1-2 tablespoons of syrup, add a mint leave optionally), or
- add it to prosecco,
- champagne,
- your fruity summer bowl.
- You can add it to plain yoghurt,
- frozen yoghurt,
- homemade ice cream,
- smoothies and also
- use it for cream desserts and
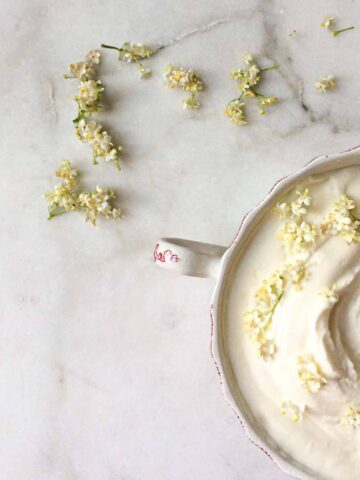
- add it to your cream cheese frosting (instead of vanilla flavor)!
- use it to replace simple syrup in cocktails and desserts
- use it instead of maple syrup or honey to sweeten pancakes and waffles
- put it in you tea (e.g. your homemade elderflower tea)
Other elderflower recipes:
Instructions for Elderflower Syrup
In 5 simple steps you can make your homemade elderflower syrup.
- Make an infusion
- Sterilize bottles and equipment
- Strain elderflowers
- Bottling
- Canning (optionally)
The canning of the finished syrup can be done after bottling, but you can also cook the syrup before bottling to make it last longer. Detailed information on this can be found in the paragraphs below.
1. Elderflower infusion
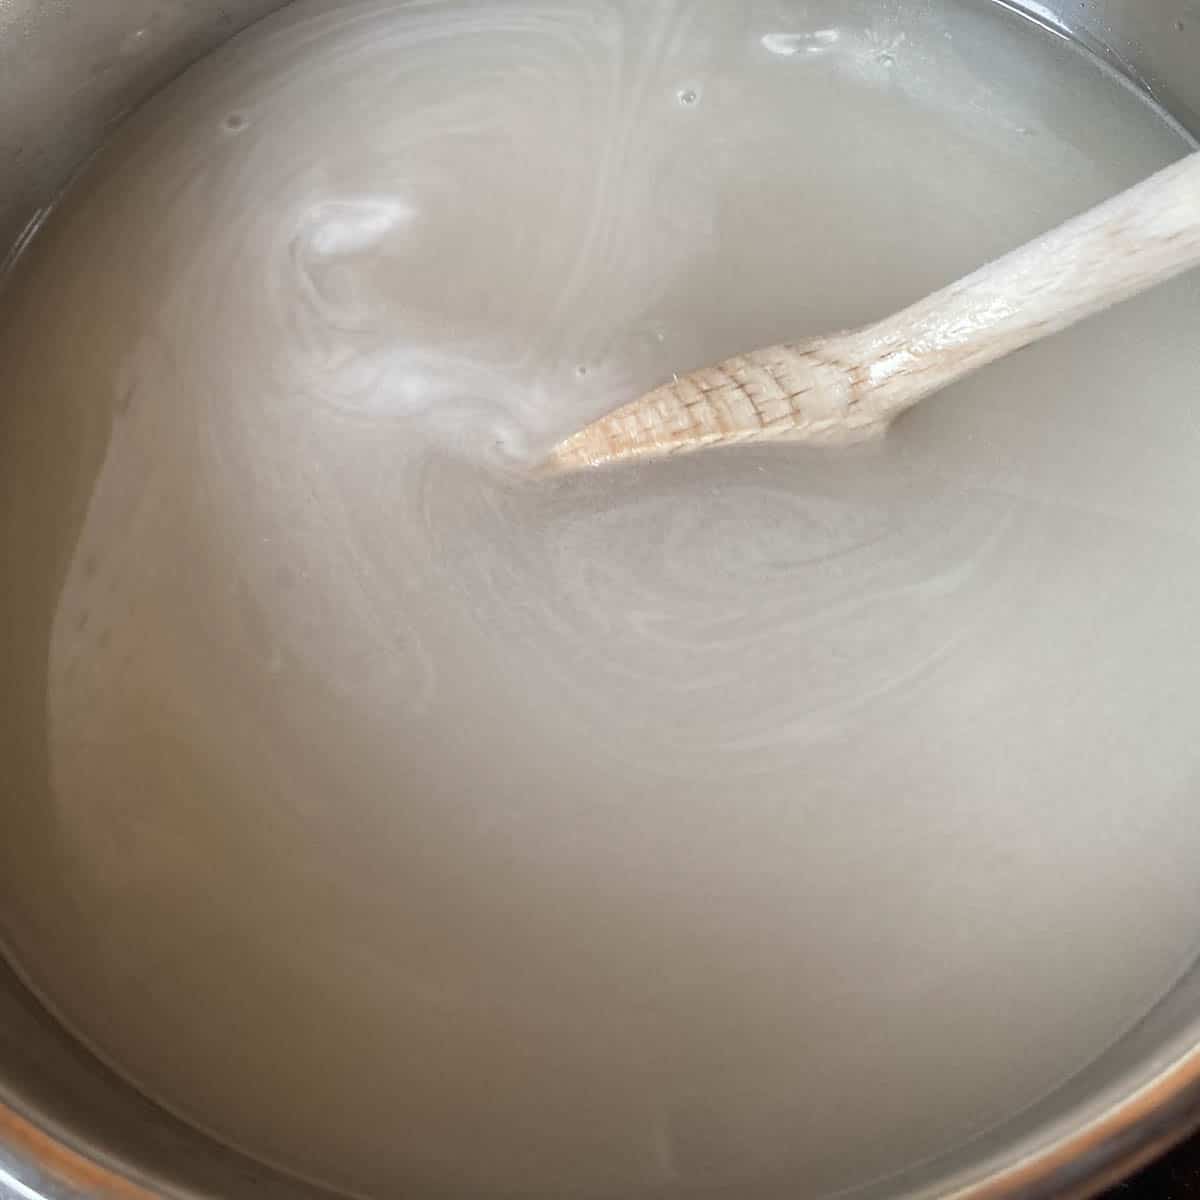
For the infusion, heat water, sugar and citric acid on medium heat in a large pot until everything is dissolved to a syrup. Let the syrup cool down to room temperature.
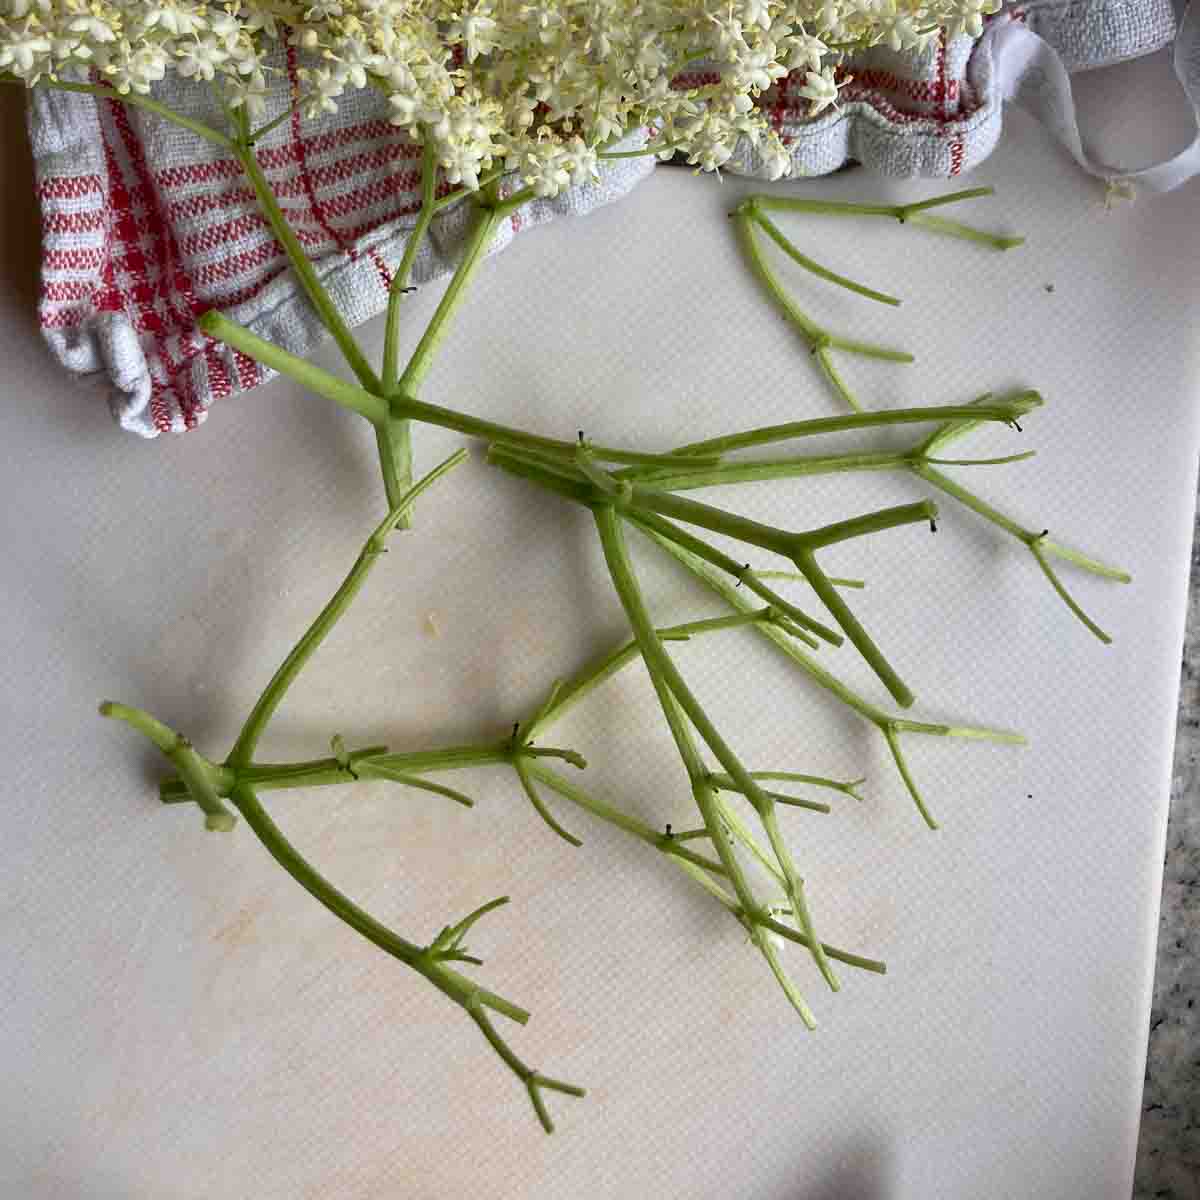
In the meantime, clean the heads of elderflower from bugs and cut off the stalks. Do not wash the umbels, otherwise they will lose lot of their flavor. The stalks are toxic and should not be used (a few small stems here and there won't hurt though).
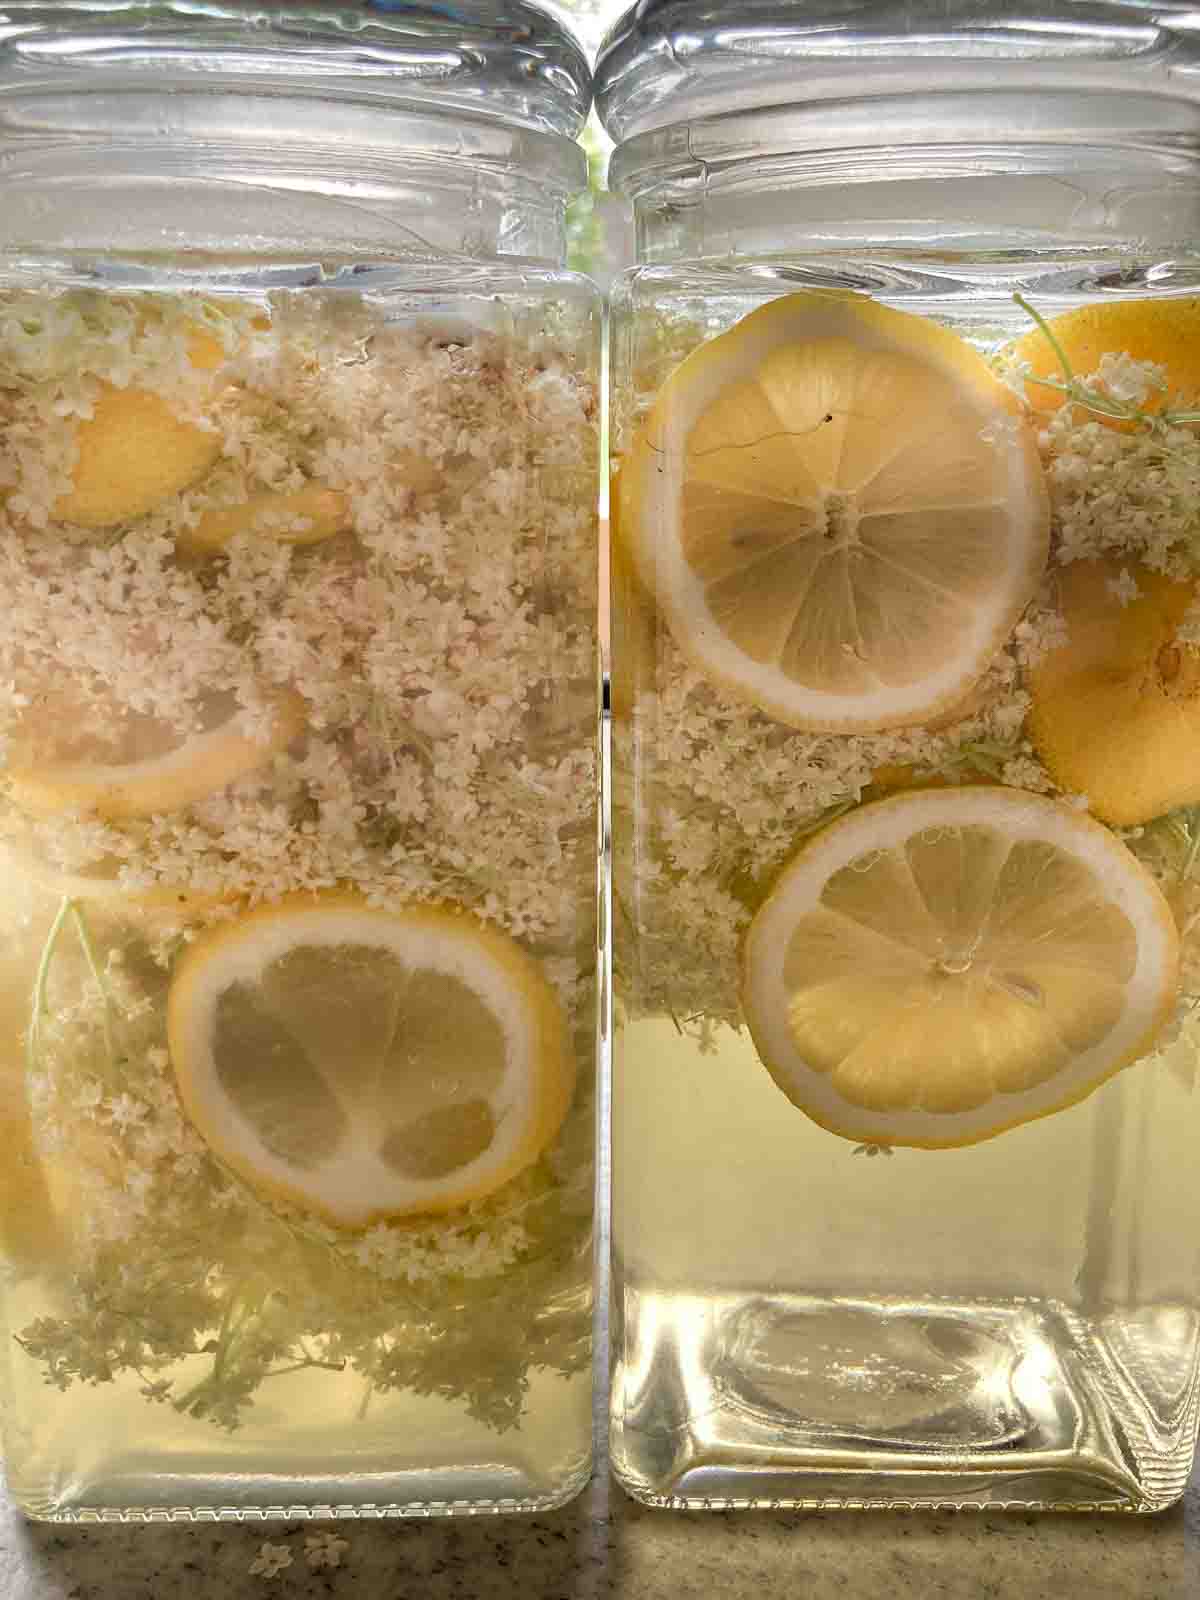
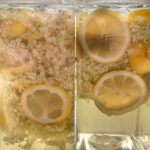
Wash the lemons and cut into slices. Pour into a clean container together with the elderflowers. Alternatively, directly into the saucepan where the syrup was cooked.
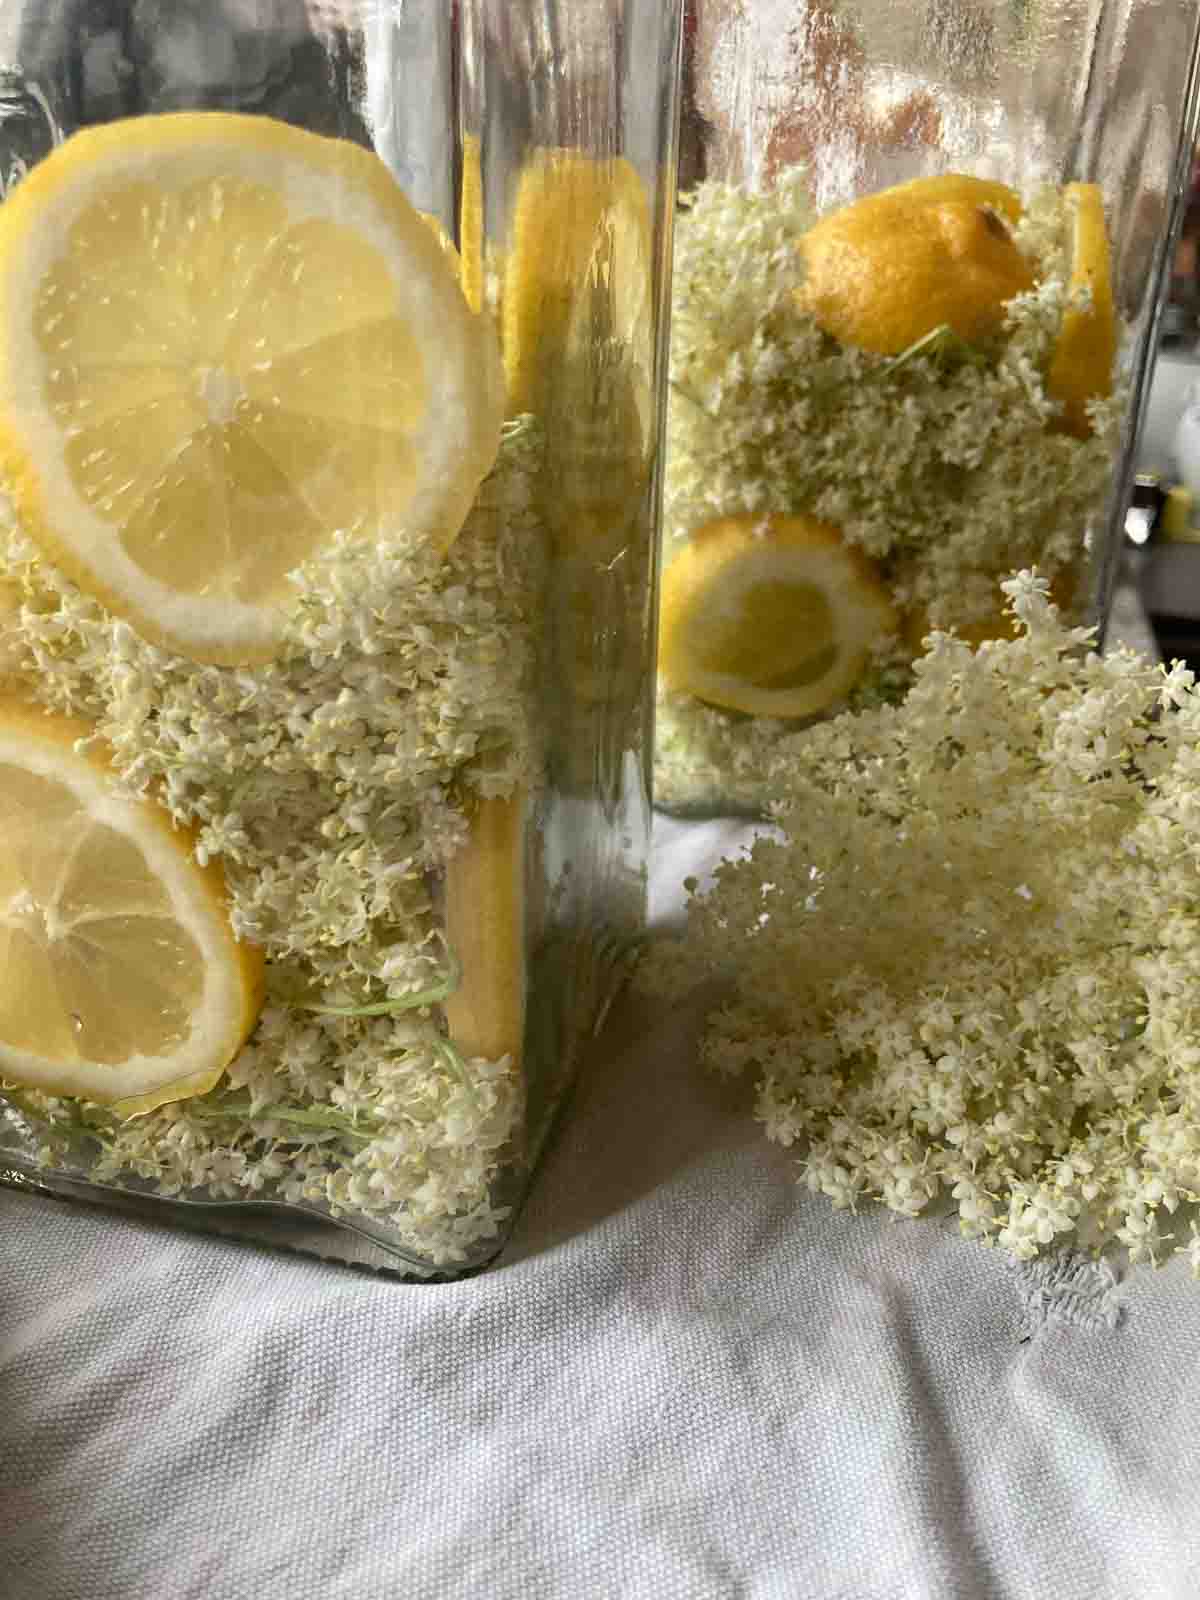
Once the resulting sugar syrup has cooled, mix with the elderflowers and lemon slices.
Be sure to:
- always use clean vessels and sterilized equipment
- weigh down the blossoms with a (clean) plate or similar, so that they are completely covered with liquid
- store the mixture in a cool place (cellar, closet, refrigerator).
In order for the flavor to pass into the syrup, they must be left to infuse for 2-4 days.

2. Sterilize bottles
After a few days of infusion, the elderflowers have released their aroma into the liquid and can be strained. Before that, however, the bottles must be sterilized.
To sterilize the bottles, you can use
- an automatic preserving machine or the
- sterilization function of your steamer.
- Alternatively, you can place an inlay grid for canning kettles in a large pot and boil the bottles and lids in it.
With a boiling time of 30 minutes, you can almost certainly assume that any bacteria or fungus on the jars has been killed.
If your bottles have a rubber ring on the cap, this must also be sterilized. Boil rubber rings with a dash of vinegar for about 5 minutes. (Not as long as the bottles).
the other equipment, such as all necessary sieves, funnels, spoons, ladles etc. should also be sterilized.
To dry, everything should be placed on clean kitchen towels.
To remove the bottles from the hot water, a canning jar lifter or a grill tong is recommended.
3. Sieve elderflowers and lemon
Once the bottles and the necessary equipment are sterilized, the elderflowers can be strained. It is important that no remnants of the elderflowers or other small parts remain in the filled bottles.
For sieving, you need:
- a clean pot (for example, the one used earlier for sterilizing)
- a sieve lined with a clean cloth or kitchen paper
- clean cooking spoon
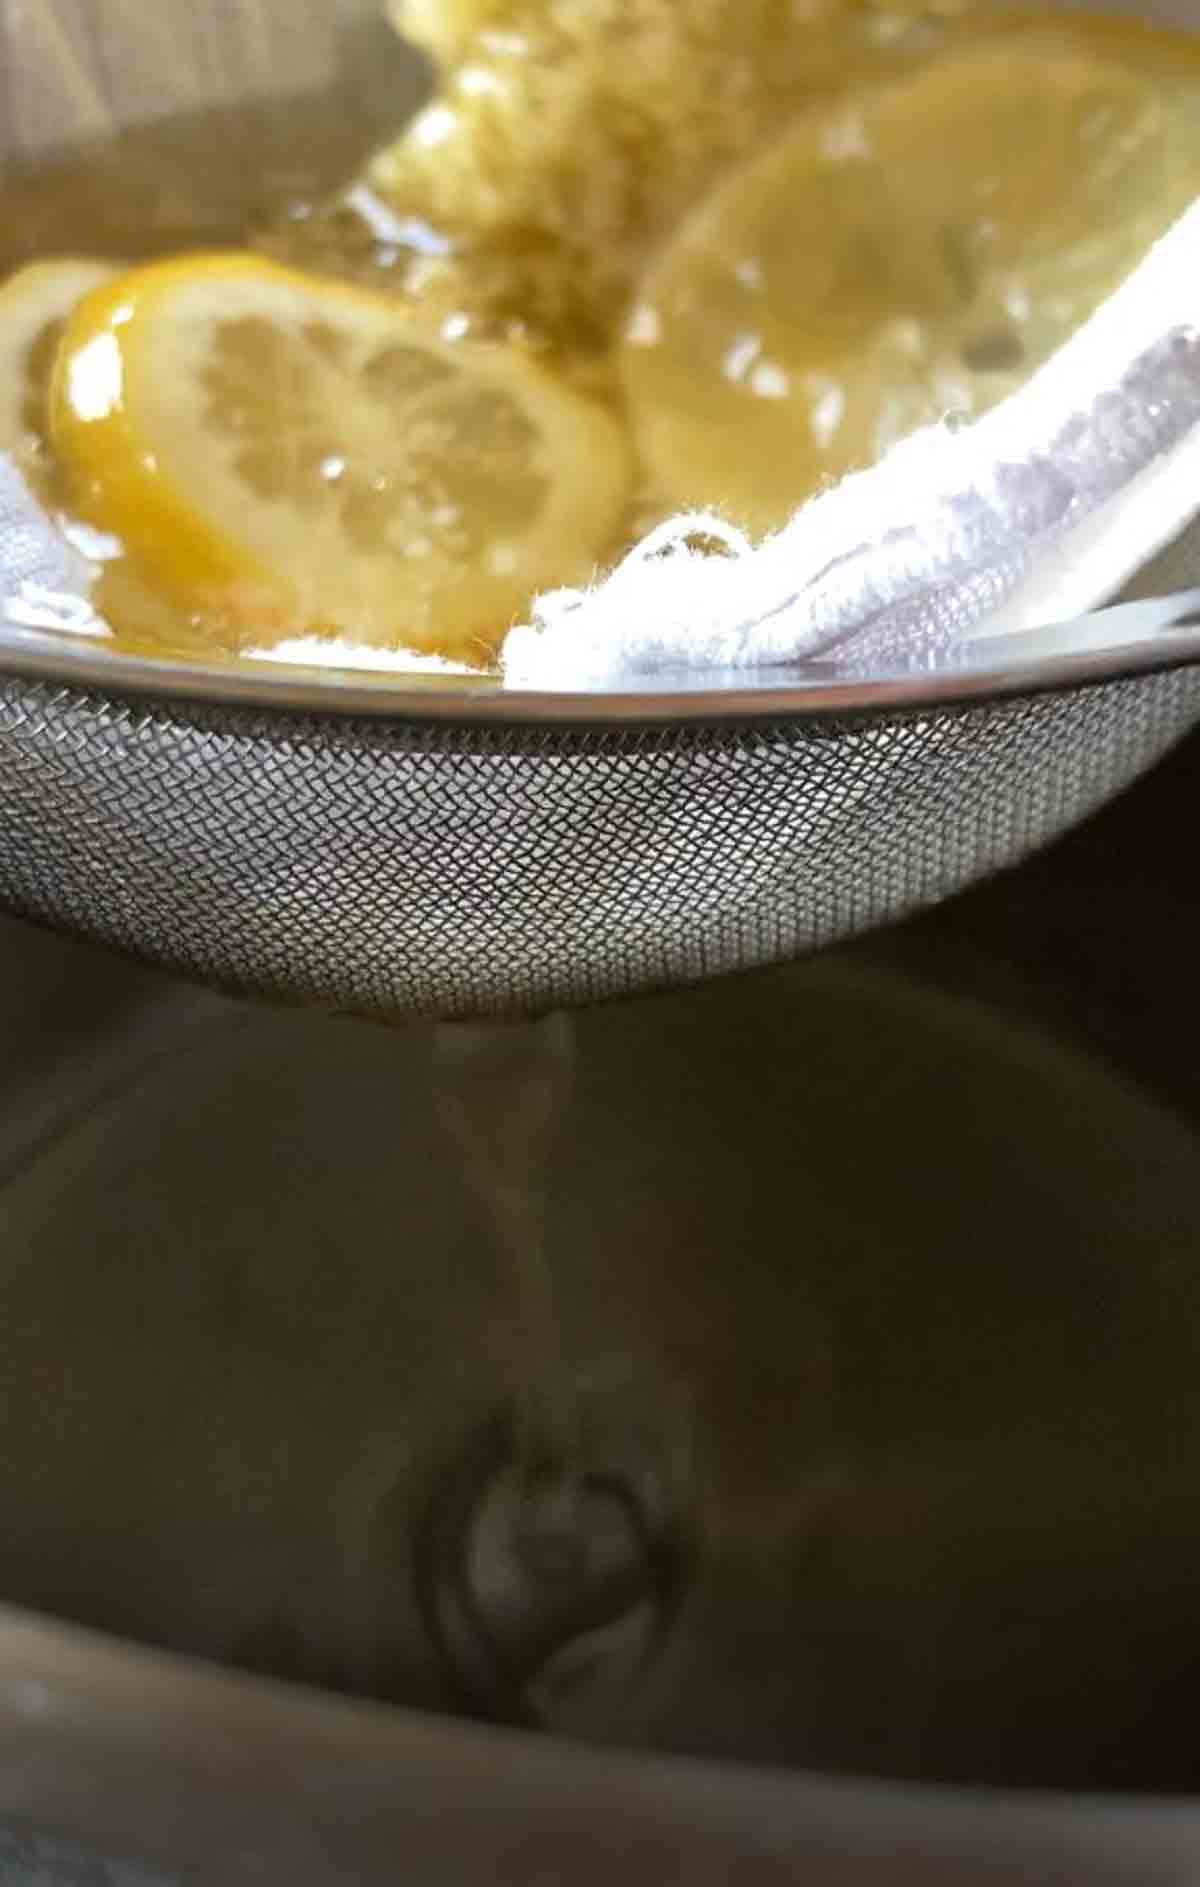
You can also strain the elderflowers in two steps: In the first step through the sieve, but without cloth / kitchen paper. Once most of the elderflowers and lemon slices are removed, strain the syrup through the sieve again in a second pass, but this time lined with kitchen paper or cotton cloth.
4. Bottle the elderflower syrup
Depending on the necessary shelf life, the syrup can be boiled again in the pot for a few minutes before bottling. However, the elderflower syrup can also be bottled directly. (Then the shelf life is reduced)
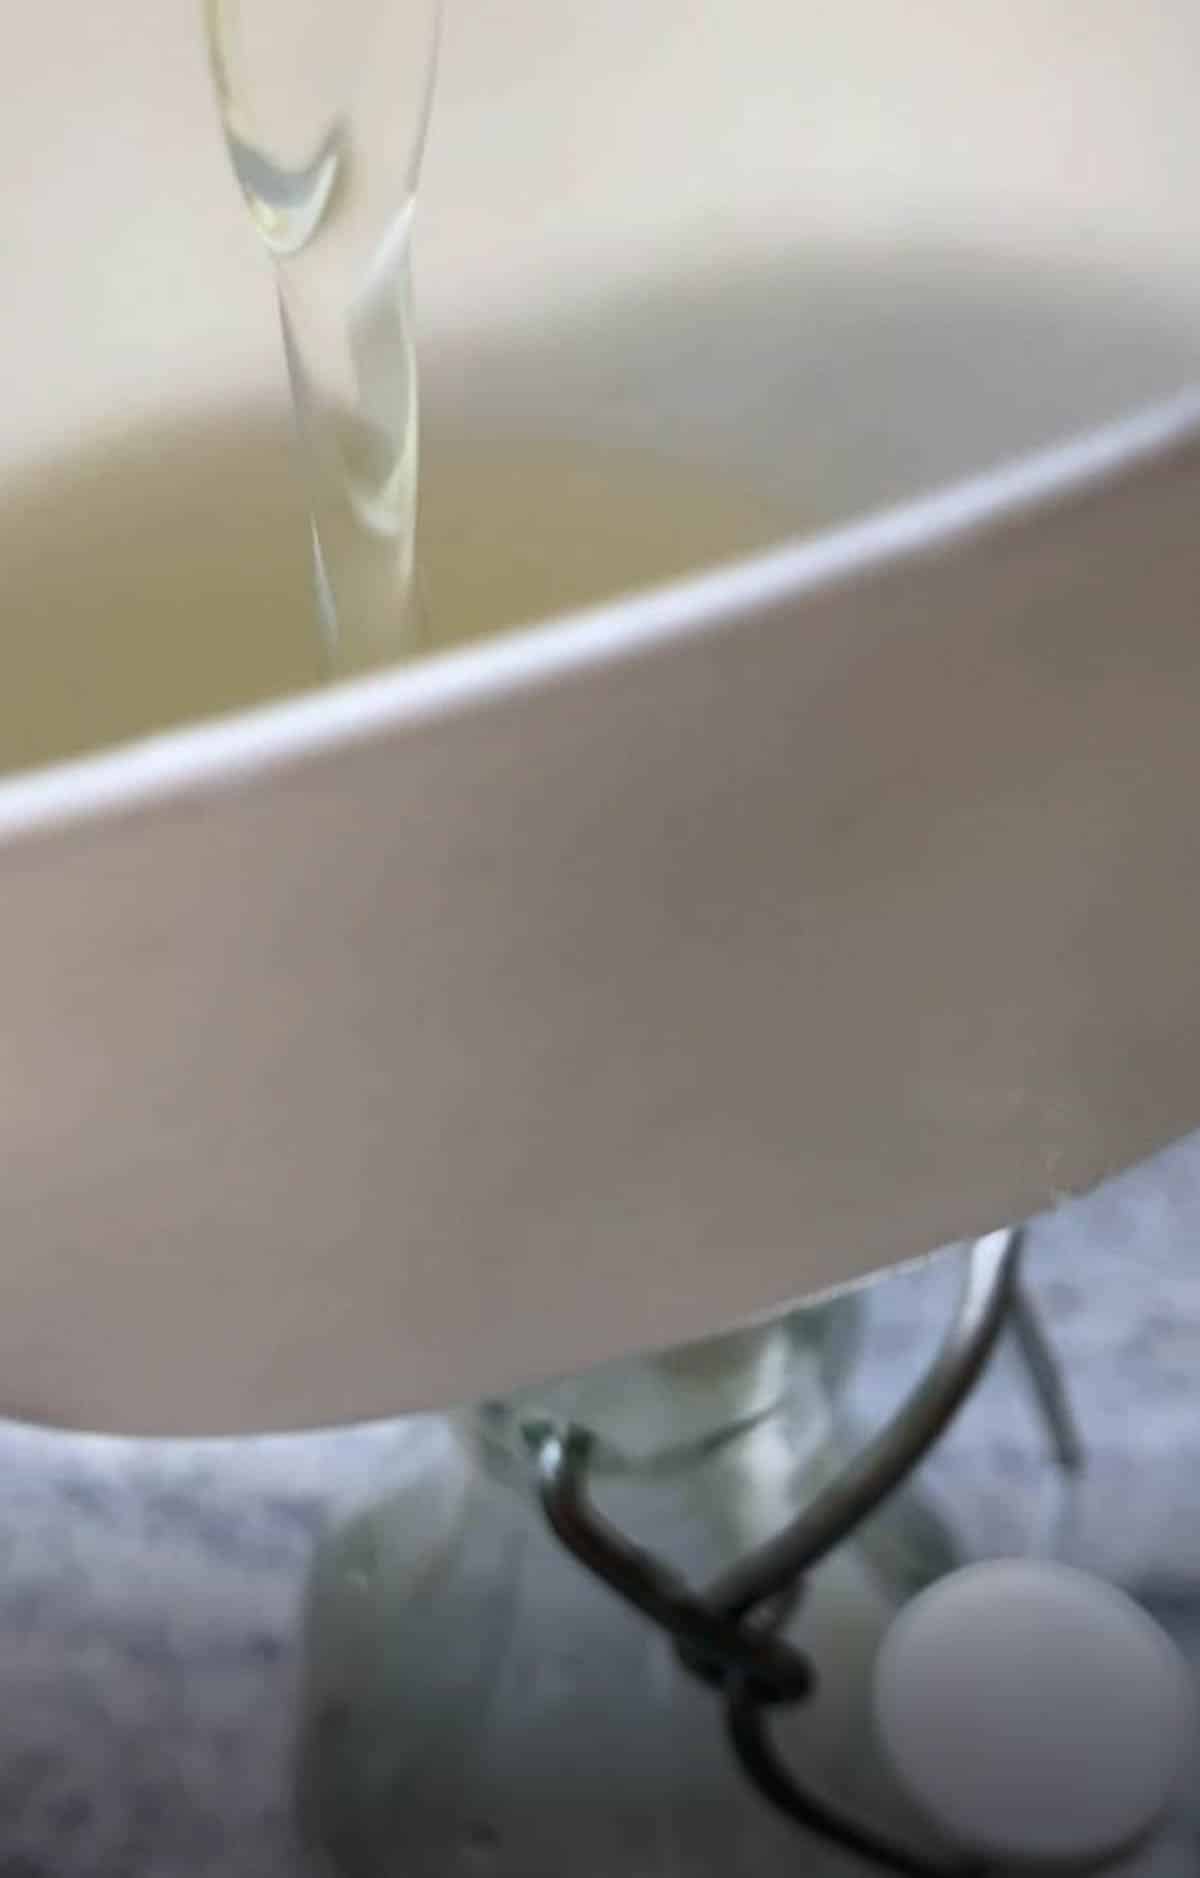
Pour the syrup into the sterilized glass bottles using a clean funnel. Do not fill too quickly, it easily happens that the syrup overflows!
5. Canning
Boiling the elderberry syrup before or after bottling kills possible germs and grants a longer shelf life.
However, some of the aroma may be lost in the process. Alternatively, the mixture can also be bottled cold directly after sieving. In this case, the shelf life is not as long. If you work really clean and have enough citric acid in the syrup, it can still last a long time, there is just a little more risk that the syrup will spoil.
You can use a canning machine, a pressure canner, or the canning function of your steamer for canning the filled bottles.
Alternatively, place an inlay grid in a large pot. This prevents the bottles from standing directly on the bottom of the pot and getting to much direct heat. Now place the bottles in the pot and fill it with water until the bottles are ¾ covered. Slowly bring to a boil and simmer on low heat for 30 minutes.

Elderflower Syrup FAQ
How much sugar for elderflower syrup?
Measured with the metric system, you need sugar in a ratio of 1:1, i.e. 1 kilogram of sugar per 1 liter of water. (~ 5 cups of sugar to 4+¼ cups of water)
For a thicker syrup that can be diluted more, use 1.5 kilogram of sugar to 1 liter of water. (~ 7+½ cups of sugar to 4+¼ cups of water)
Sweeteners, birch sugar or stevia cannot directly replace sugar if the syrup is to last a long time.
How much citric acid for elderflower syrup?
Citric acid provides an acidic environment and thus prevents the proliferation of bacteria and fungi. Most syrup recipes recommend at least 20 grams (~ 2 tablespoons) of citric acid per 1 liter of water (~ 4+¼ cups). However, many recipes specify 40-60 grams of citric acid (~4-6 tablespoons) per liter of water, which also provides the syrup with a richer taste.
In the recipe below, I used 40 grams of citric acid per 1 liter of water.
Citric acid is an industrial product and should not be confused with the juice of real lemons. It is a white powder that looks similar to granulated sugar or salt. It is available in pharmacies or in the baking or canning departments of well-stocked grocery stores. (At least in Austria) There is also syrup sugar available, where citric acid is already included to the sugar.
Do I need to use citric acid for my elderflower syrup?
Citric acid is not absolutely necessary to make a syrup. Due to the high sugar content, the syrup already has a long shelf life.
However, citric acid can be especially useful if the syrup is made with a cold infusion and is not boiled again before bottling.
You can also use the juice of one squeezed lemon (~ 100 ml) instead of 20 grams of citric acid, or omit the lemon altogether. Note: If citric acid is omitted, special attention should be paid to sterilized equipment, hygienic working and boiling the syrup for a long time before bottling for a longer shelf life.
Do I need to boil elderberry syrup before bottling?
Boiling the elderberry syrup kills possible germs and grants a longer shelf life.
However, some of the aroma may be lost in the process. Therefore, the mixture can be bottled cold directly after sieving. However, the shelf life is not as long.
Does elderberry syrup have to be canned after bottling?
It is not compulsory to cook the bottles after filling (canning), but it is useful for a longer shelf life. This kills germs that got into the glasses during bottling.

Storage and Shelf Life of Elderflower Syrup
If the bottles are sterile and the syrup has been canned after bottling, it should keep for at least 1 year and longer. Of course, shelf life is never 100% guaranteed, so the bottles should always be checked for mold before consumption.
Syrup should be stored in a cool, dark place. Once the bottle is opened, it should be stored in the refrigerator and used within a few weeks.
Simple Homemade Elderflower Syrup Recipe
Kochutensilien
- 8 small bottles ((e.g. 250 ml/1 cup))
- Canning jar lifter
- Funnel
- Sieve
- Inlay grid for pot (when pot is used for canning and sterilizing)
Zutaten
- 25 elderflower umbels
- 4+¼ cups water 1 liter
- 7+½ cups sugar 1.5 kilogram
- 4 tablespoons citric acid 40 gram
- 1-2 lemons organic
Anleitung
- Make the infusion: Heat sugar and citric acid in a pot with the water until they are dissolved. Let cool down to room temperature.In the meantime, clean the elderflower umbels from bugs and cut off the stalks.Wash the lemons in hot water and cut them into slices (with peel). Together with the elderflowers, put them in a clean container and pour cooled syrup over them. Alternatively, add directly to the saucepan where the syrup was boiled.Weigh down the flowers with a (clean) plate or similar so that they are completely covered with liquid. (Don't use dishes made of metal, but rather ceramics, glass or stone)Store the mixture in a cool place to infuse for 2-4 days.
- Sterilize: Sterilize bottles, lids, and equipment such as funnels, strainers, spoons, etc. for 30 minutes in boiling water (pot with inlay rack), in the steamer, or your canning machine.Simmer rubber gaskets with a dash of vinegar in hot water for a few minutes.
- Strain: Strain elderflowers through a sieve and cotton cloth or paper towel.
- Bottling: Pour into bottles using a funnel.
- Canning (optional for longer shelf life). You can either boil the syrup for a few minutes BEFORE bottling or can the filled bottles AFTERWARDS. When canning after bottling, place the sealed bottles in a pot with an inlay grid and fill to ¾ with water. Heat up slowly and simmer on low for about 30 minutes. (Alternatively, use your pressure canner according to instructions, the steaming function of your oven or your elctric canning machine)
(c) by Angelika Kreitner-Beretits / Vienna Sunday Kitchen
Juni 3, 2023 Hast du das Rezept ausprobiert? Dann freue ich mich über deine Bewertung!! / Rate this Recipe!
Ich freu mich über deine Rückmeldung zum Rezept in den Kommentaren!